Motorized | Light Filtering | Rechargeable | Cellular Shades | Customizable
Couldn't load pickup availability
We provide a two-year warranty on motors, remotes and a long-term complimentary technical support. To extend your warranty coverage, you can purchase our "Extended Service" in the products’ custom option.
To file a warranty claim, simply send an email to hello@grandekorshop.com or go to Contac Us page to specify the issue. We will get back to you within 3 business days.
Totally about 20 business days to US.
Total delivery time = processing time + shipping time
Production and packaging may take 1-7 business days.
After processing and leaving the warehouse, items typically take 3 to 14 business days to reach their destination.
We offer free shipping to the US by UPS, FedEx, or DHL Express.
Please note that we only make your product to the dimensions you specify, with no additions made.
Instructions For Inside Mount Cellular Shades
Inside-mounted cellular shades fit inside the window casing.
- Measuring the width: The width measurement is taken from the inside edge of the window frame at the top. Always measure to the nearest ⅛’’, and be sure to use a steel measuring tape. Your order width=Your window width-¼’’.
- Measuring the depth: Your window needs to be deep enough for an inside mount. For dry-battery model, the minimum depth is 1 ⅞’’. For rechargeable model, the minimum depth is 2 ⅞’’.
- Measuring the height: The height measurement is taken from the window frame in three places, top left, center, and top right down to the sill. Record the tallest height up to the nearest ⅛’’. This will be the height you order.
Outside-mounted cellular shades hang above the window, or on the wall surrounding the window.
- Measuring the width: Take the measurement at the top of the window frame. You’ll use that measurement and add the recommended 4 to 6 inches. This will ensure the window is properly covered. For more light coverage and privacy, add even more to the measurement.
- Measuring the height: Take it from three locations, the left, center, and the right. You’ll use the tallest height and add the recommended 4 to 6 inches. This will ensure the window is properly covered.
How to Install Motorized Cellular Shades
Installation parts for cellular shades including mounting brackets, screws, and remote (for both inside and outside mount)
Step 1. Bracket location and installation.
Step 2. Mounting the shade.
Step 3. Directly operate with the pre-programmed remote, or connect Tuya app for automation and voice commands if you’ve purchased the smart control options.
View the user manual for motorized cellular shades here.
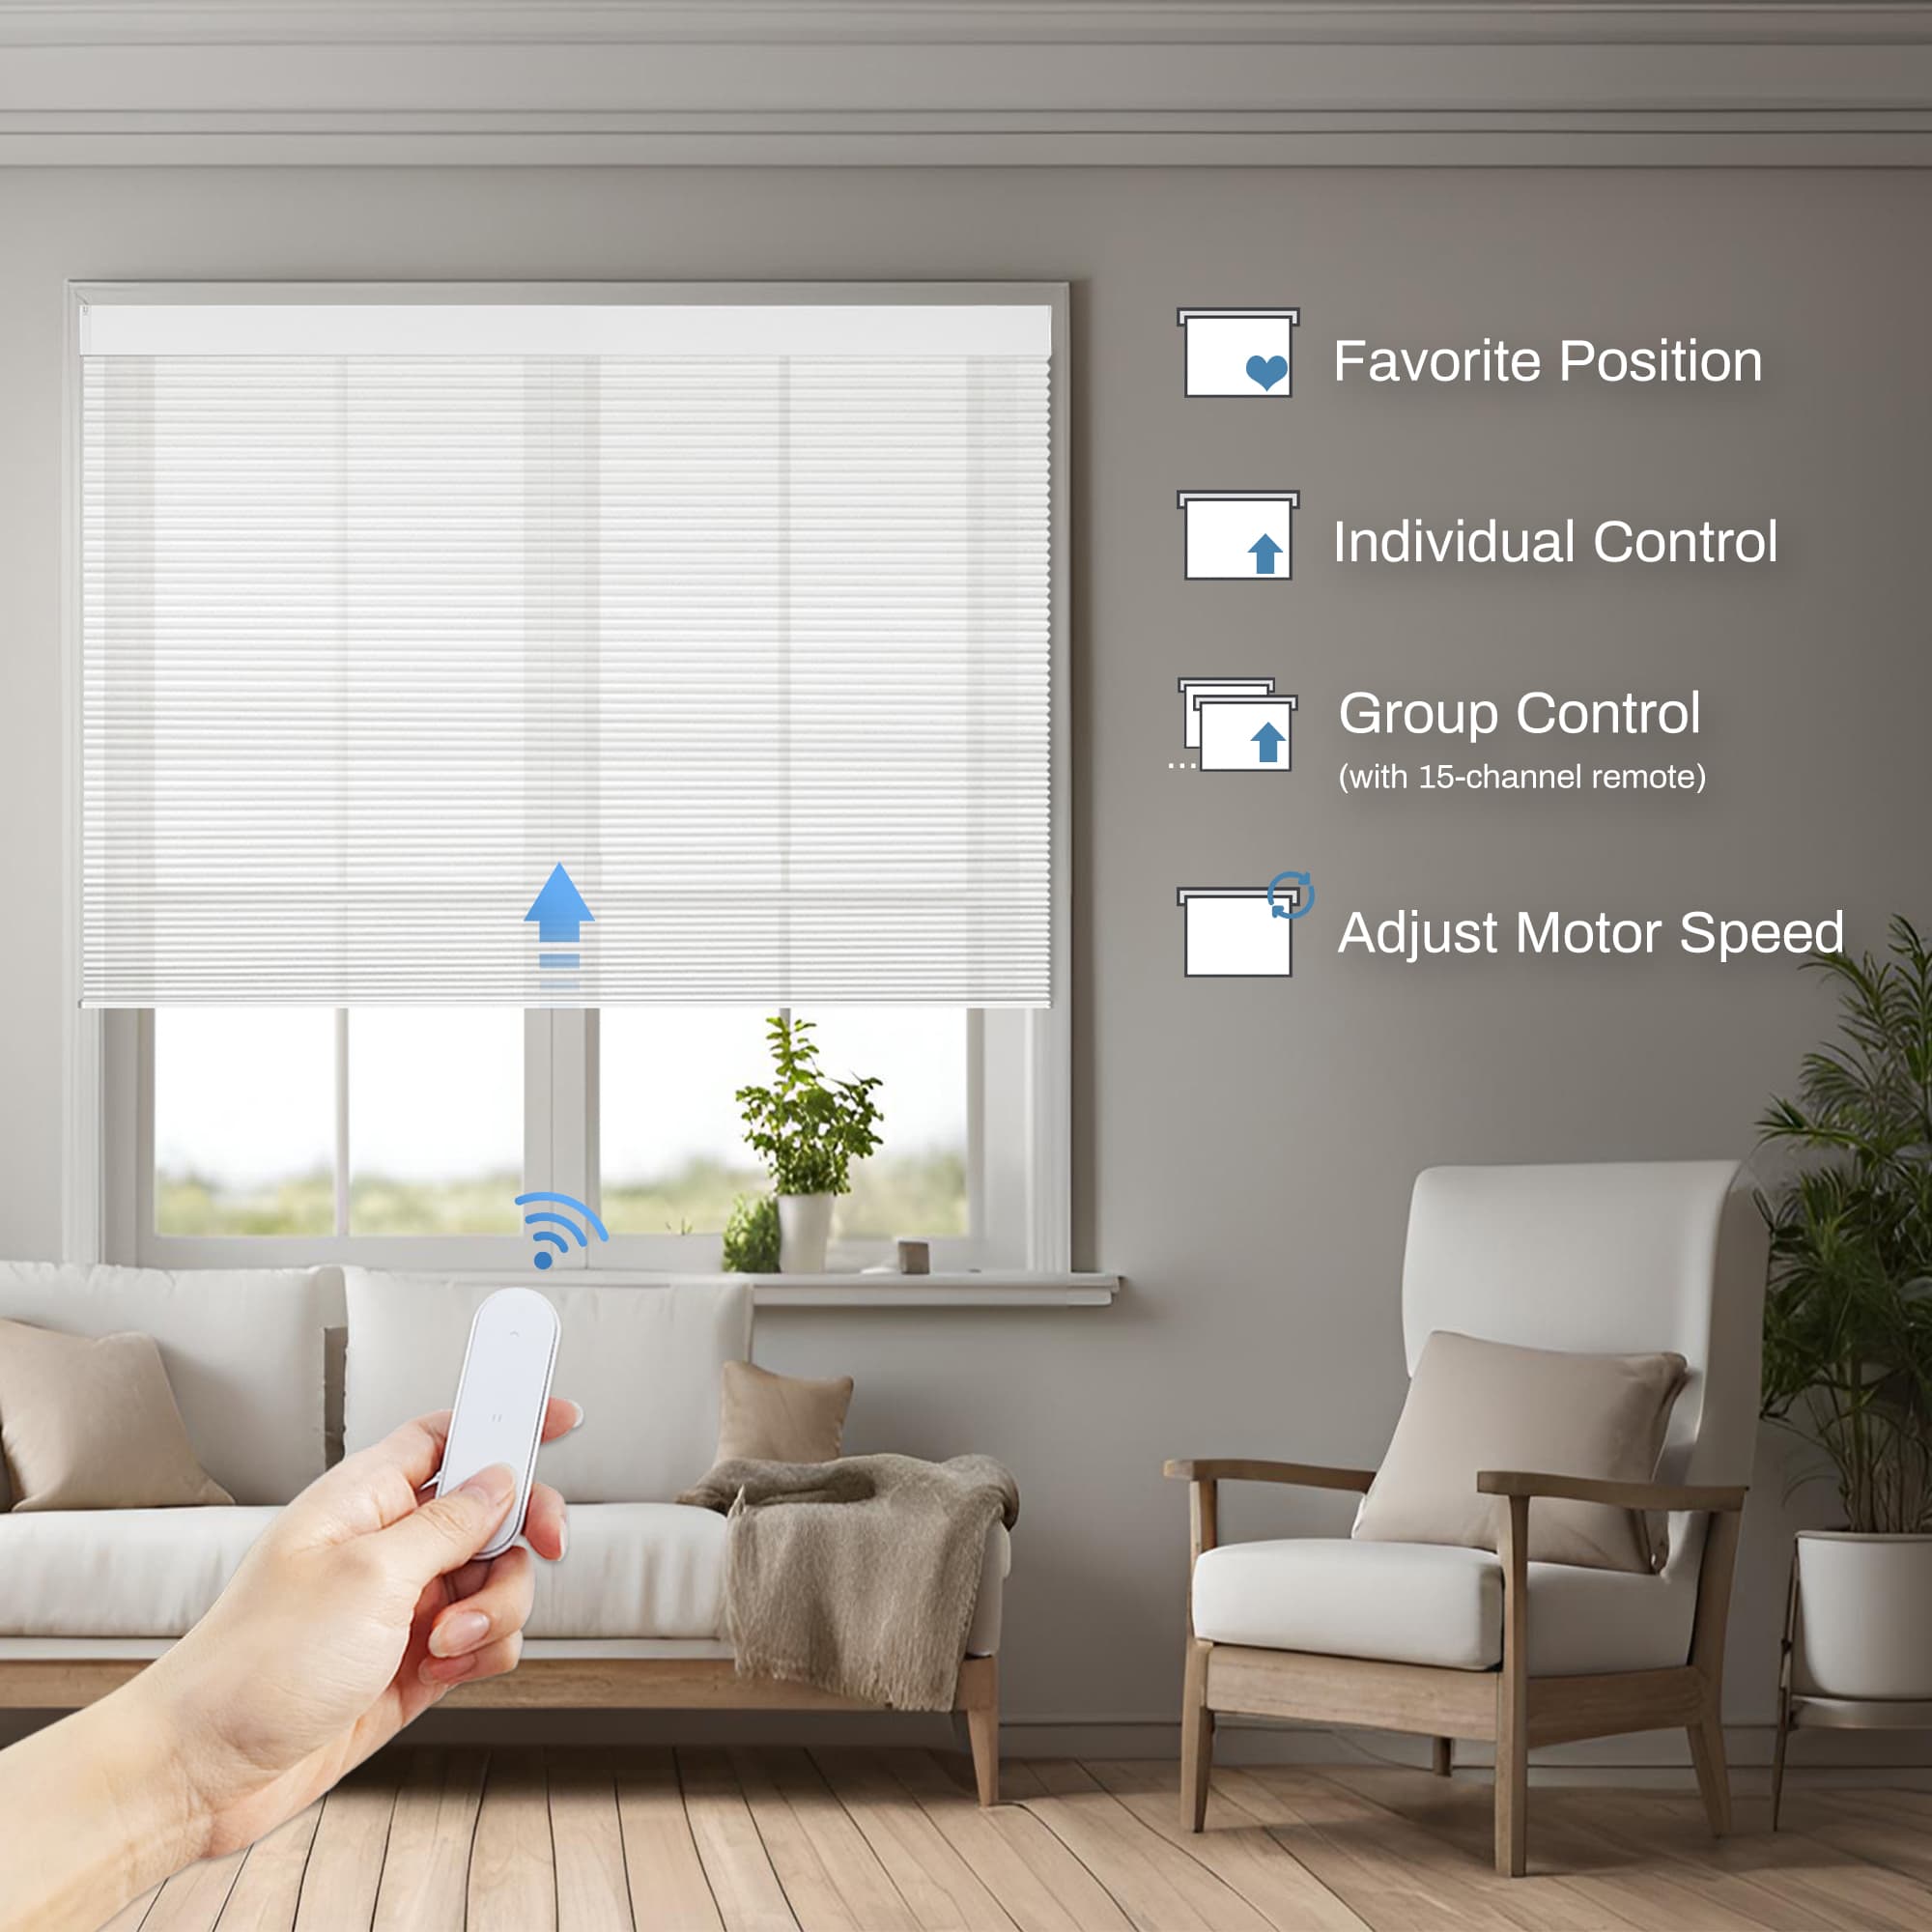
Remote Control
Remote control cellular window shades allow you to effortlessly adjust light and privacy at the touch of a button.

App Control
With customizable schedules and control, you can easily adjust the cellular shades, whether you’re at home or away.
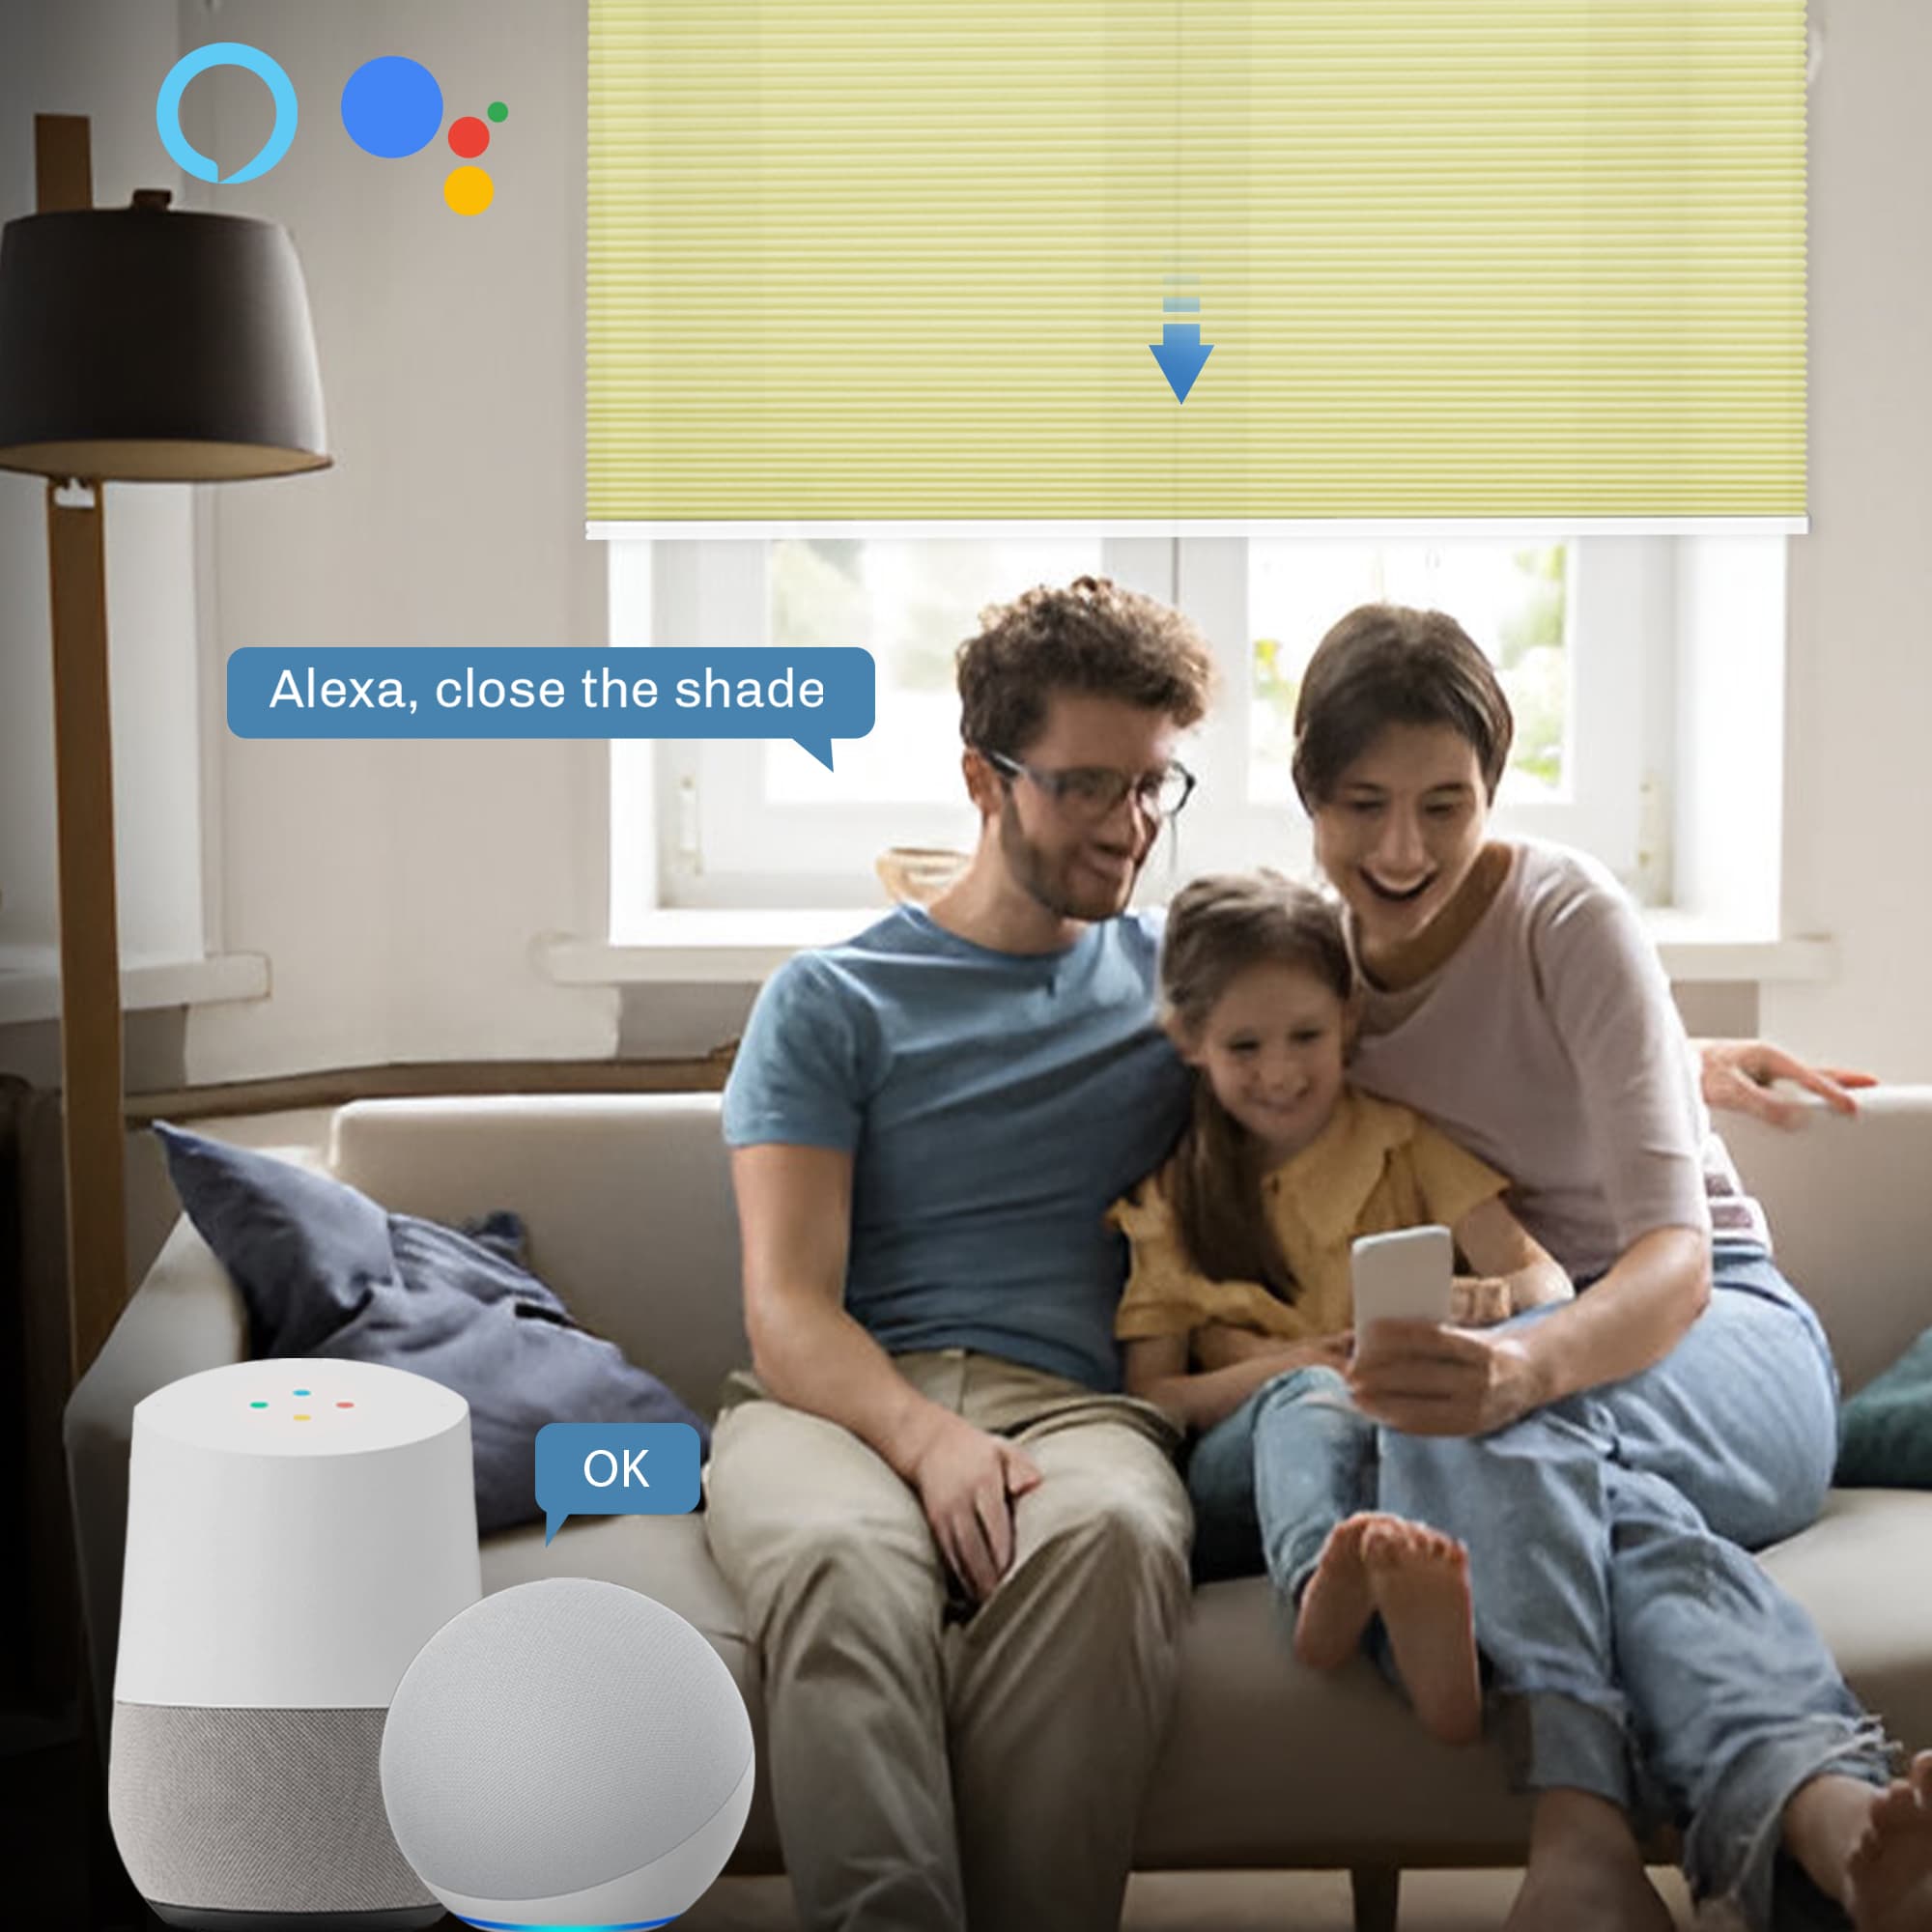
Voice Control
Smart cellular shades enable effortless control through voice commands, allowing you to adjust light and privacy hands-free.

Light Filtering
Protect your privacy while effortlessly allowing soft, natural light to flood your room with a gentle glow. These versatile window treatments are perfect for living rooms, kitchens, or any space where you want to minimize glare and reduce heat, creating a comfortable and serene atmosphere. Whether you're looking to enjoy the daylight without sacrificing seclusion or protect your home from excessive sunlight, this solution combines functionality with style for a brighter, more peaceful environment.
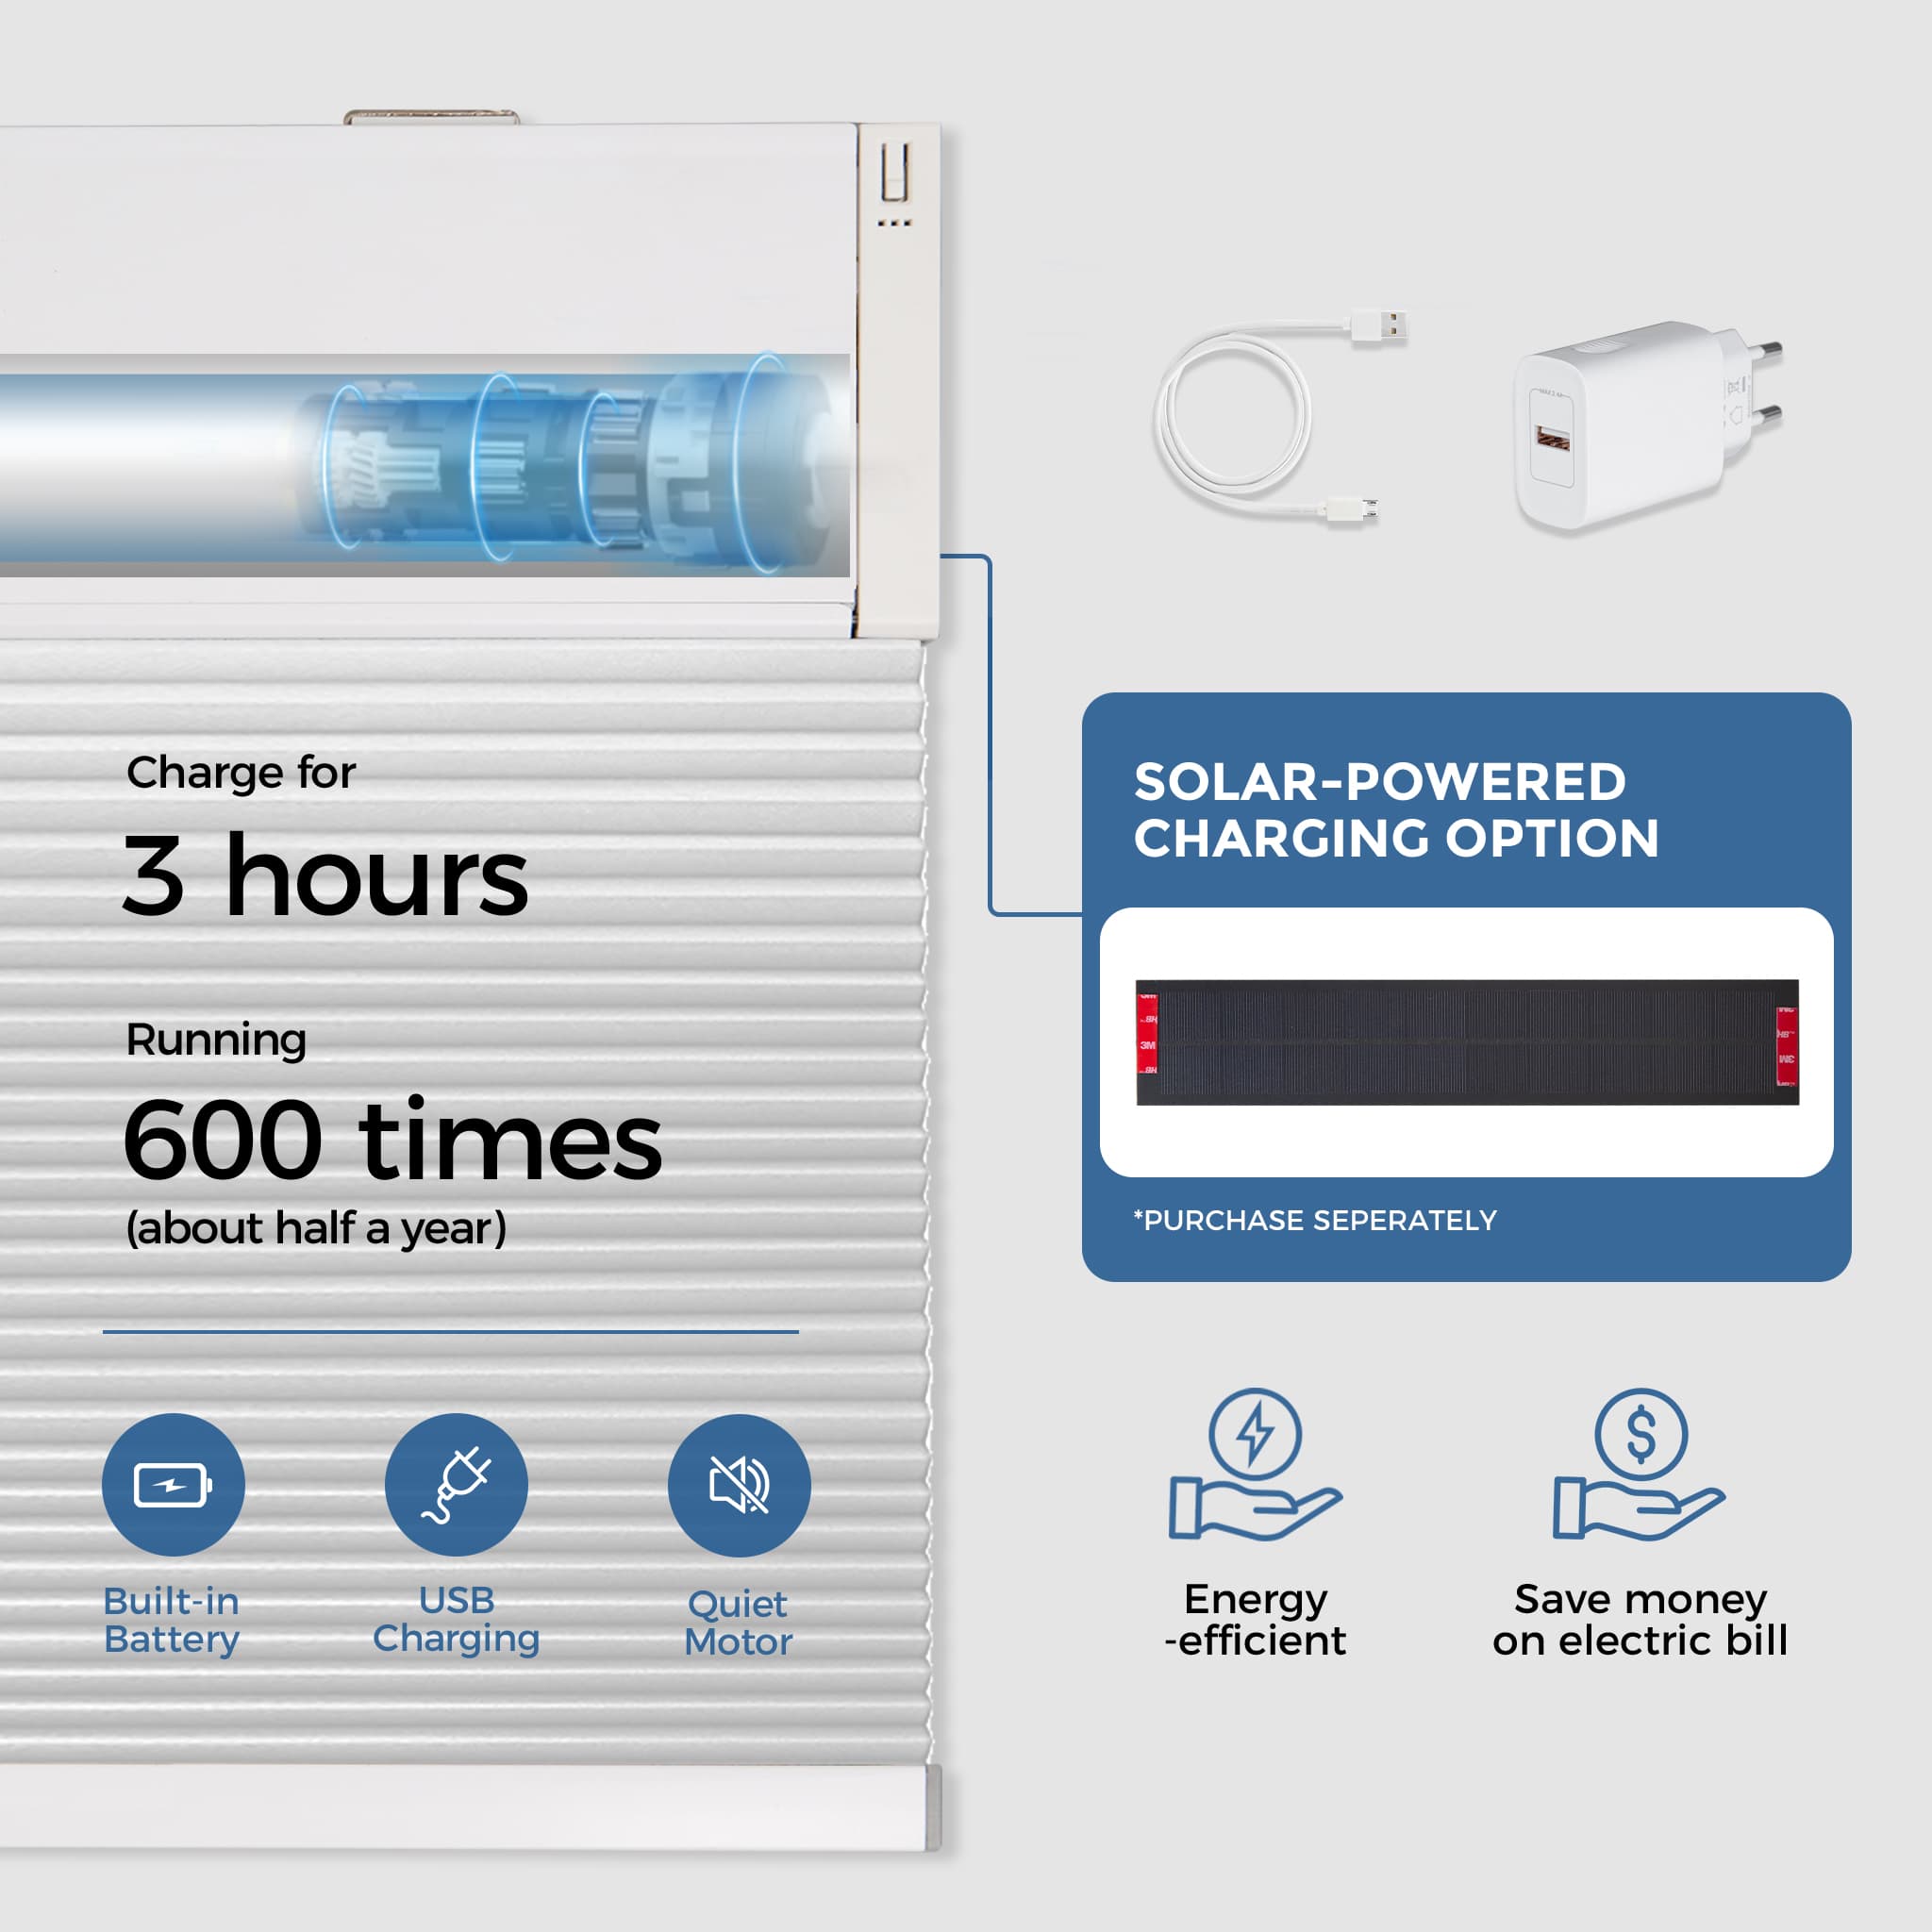
Battery-powered Motor
Easily recharge with the included 3-meter USB-C cable. Or, harness the power of the sun with our eco-friendly solar panel option, ideal for well-lit windows. Insulate your home with our motorized honeycomb window shades, perfect for energy savings.

Schedules and Routines
Simplify your daily routine with automated shades. Schedule your shades to open and close automatically, adjusting to the natural rhythm of the day.
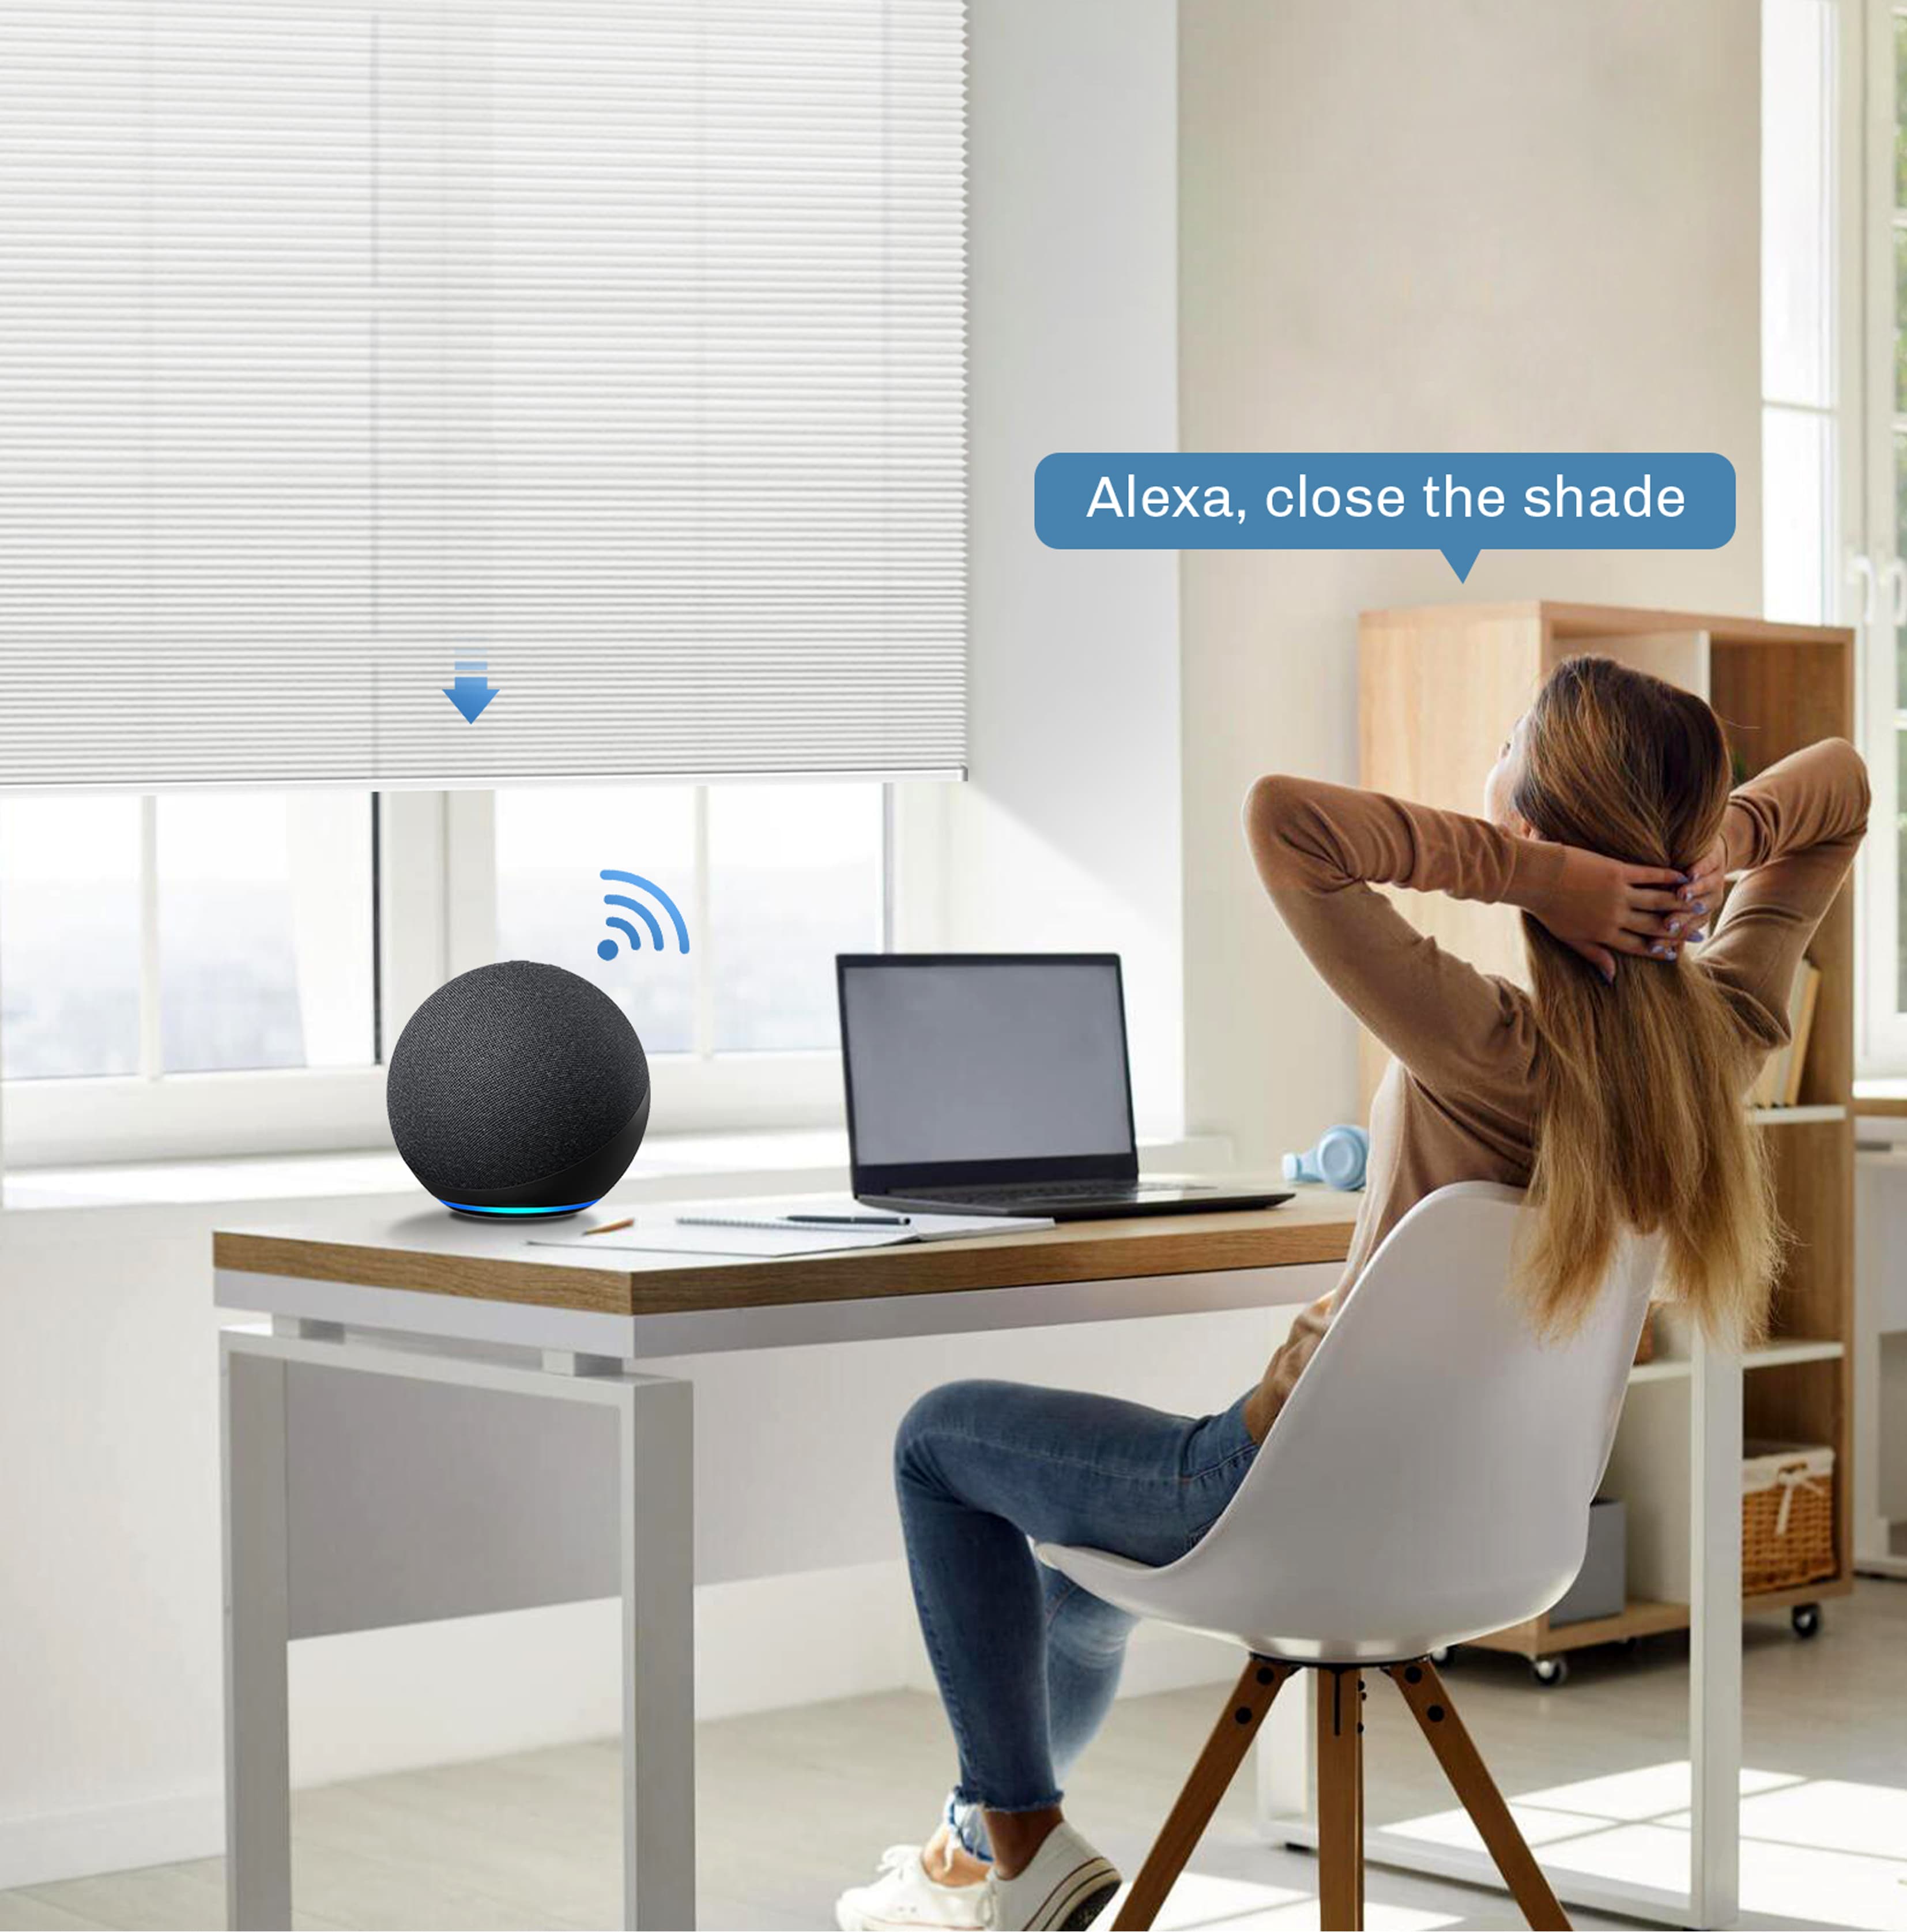
Voice Command
Take control of your cellular shades hands-free with Amazon Alexa or Google Assistant. Just say the word to open, close, or adjust the shades exactly as you like, making your home both smart and effortless.
Install in Minutes

Push
Attach the headrail to the bracket by pushing it so that it clicks or locks into position.
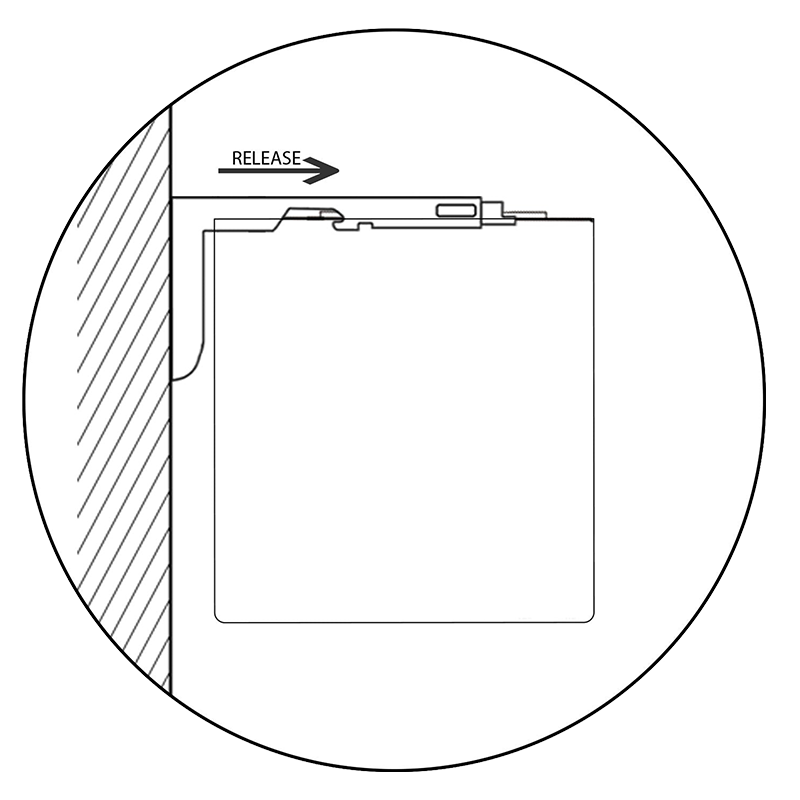
Release
Adjust the headrail upward until it is level, then release it to secure it in the bracket.
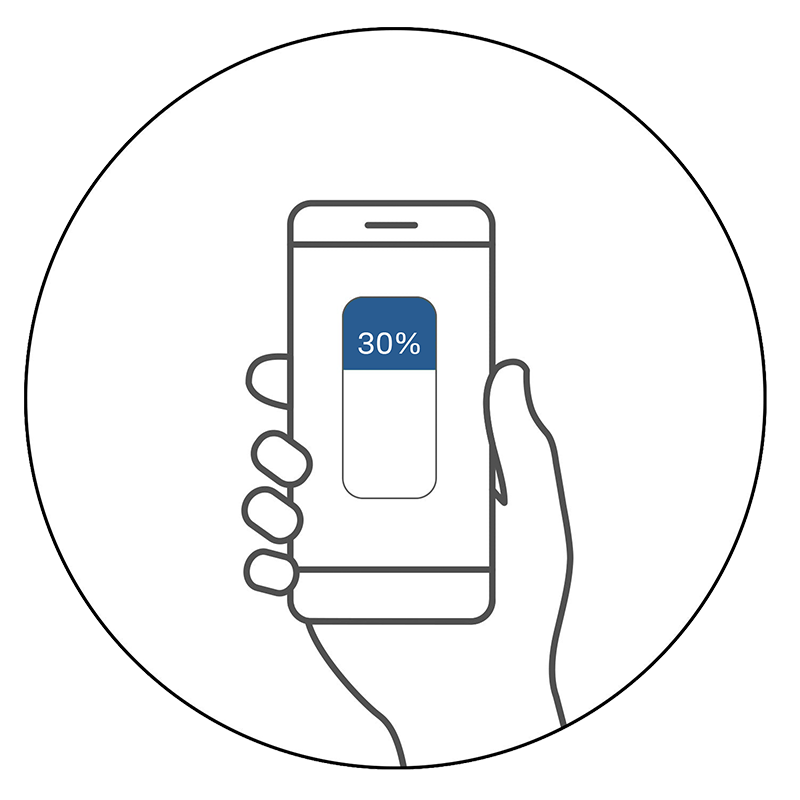
Control
Managing shades remotely using the remote, connect with app, or control by voice.
